Precision isn’t a feature. It’s the signature.
The proof is in the corners. These are the details that decide whether a room looks installed or looks designed, each shown on a real Tiles Connect project.
Five details, up close.
Hover a numbered point to find it in the photograph and on the drawing. Use the arrow keys to move between sheets.
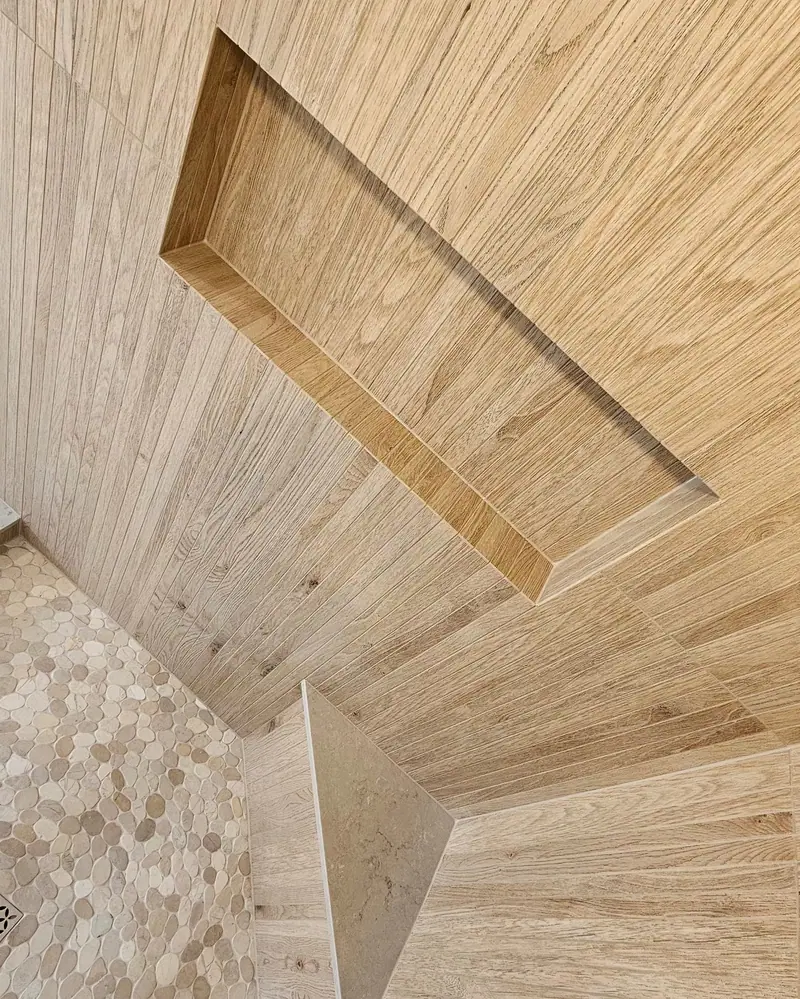
Real project · Wood-look niche, fully mitred · See the project →
- 01A 45° cut on each piece meets at the corner; the joint is filled with epoxy resin.
- 02The edge reads as one continuous face, not two pieces meeting.
- 03No metal trim or corner profile in sight.
| Format | 1 × 48 in. wood-look porcelain |
|---|---|
| Edge | Mitred, epoxy-resin finish |
| Also on | 24 × 48 niche: no grout where silicone will be |
How the work is approached.
- 01
Plan the veins
On marble and marble-look slabs, layout starts with how the pattern will run across joints and around corners, so the finished surface reads as one piece.
- 02
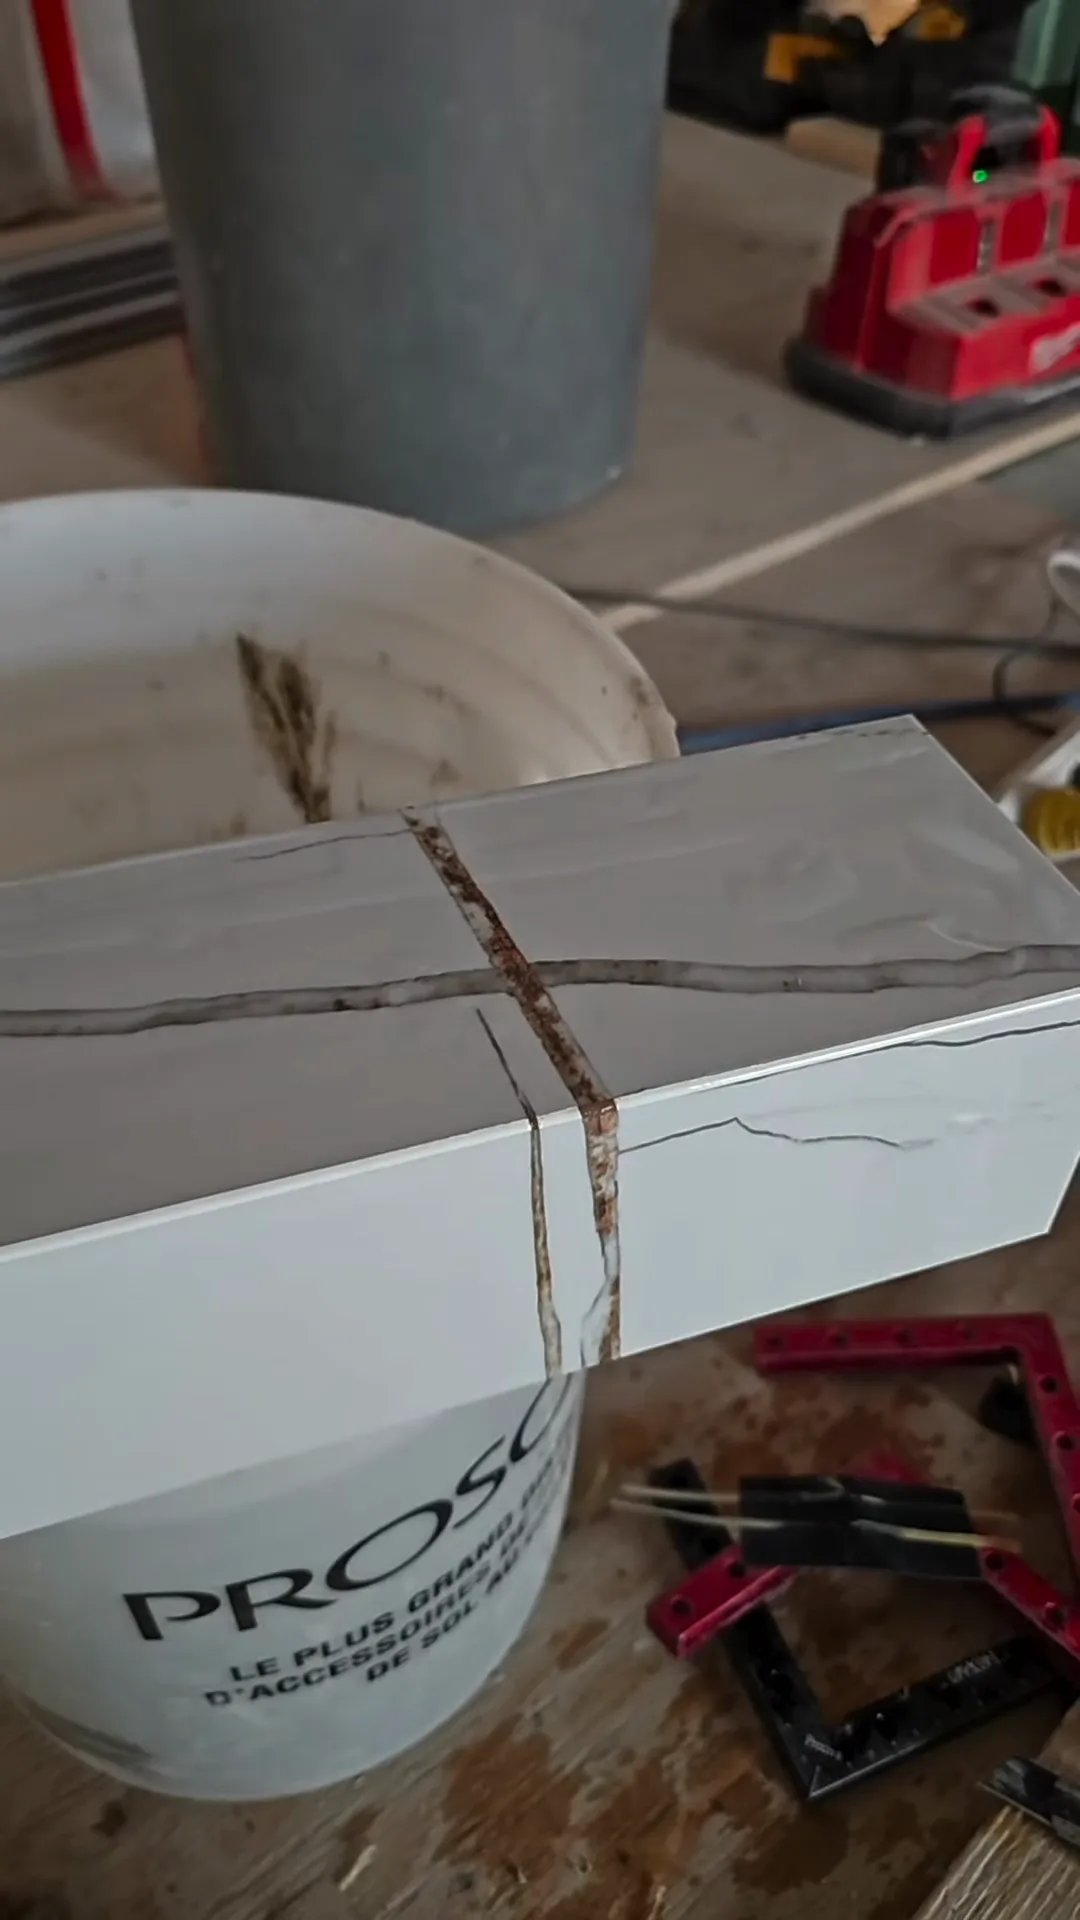
Mitre the corners
Outside corners are cut and joined rather than trimmed, so an edge looks like stone, not like a seam.
- 03
Check the coves
Corners are checked where the surface meets the wall and the floor, not assumed.
- 04
Finish the niche
Niches get the same care as the walls, down to epoxy tones blended by hand.
- 05
Build from the waterproofing up
Showers are built as systems, from the pan and drain to the tile, so the finish sits on work that is meant to last.
On the job.
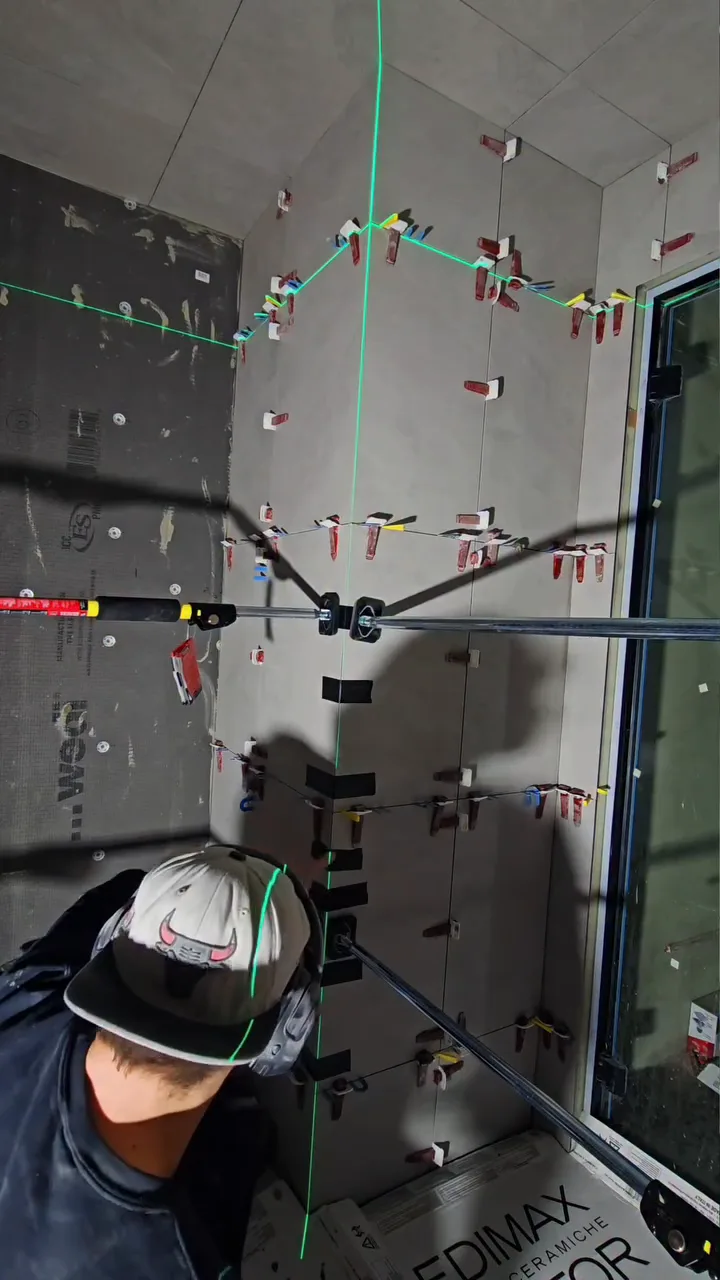
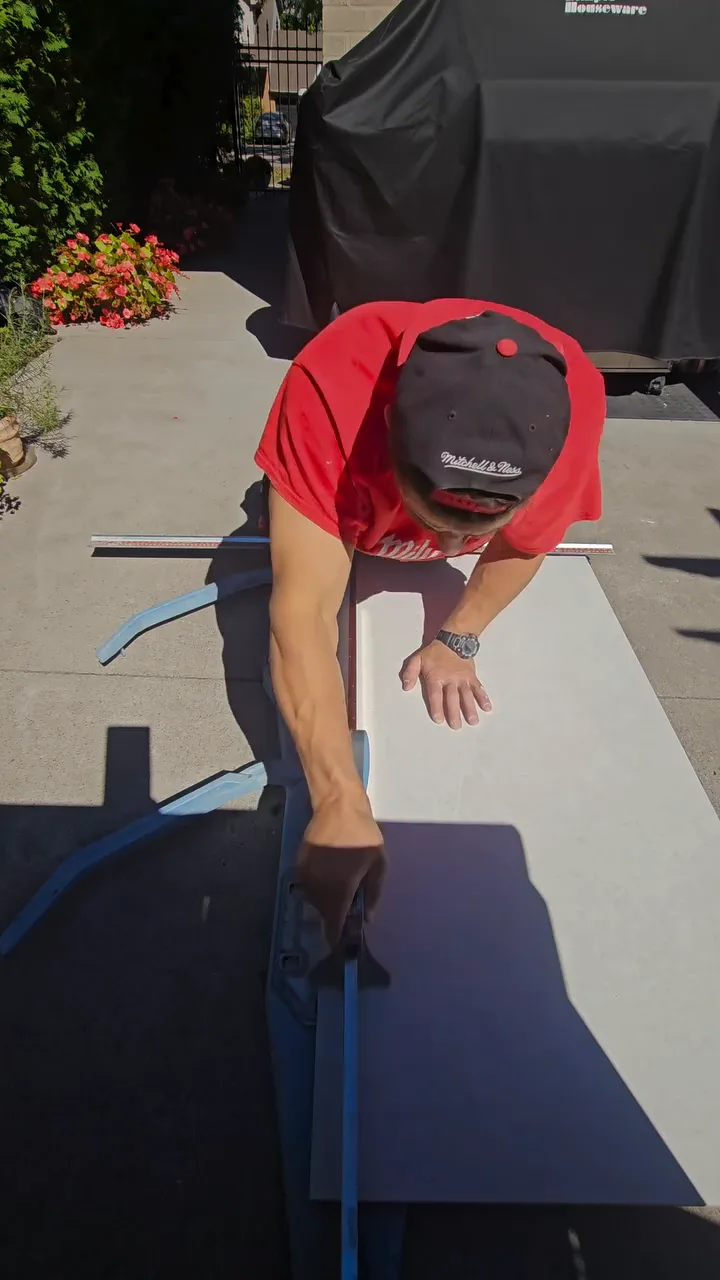
The mitre being cut and joined, a mitred corner lined up by laser, and a large slab scored on the rail cutter.
Want this level of detail?
Tell us about the space, the surface and the look you want.
Request a Consultation